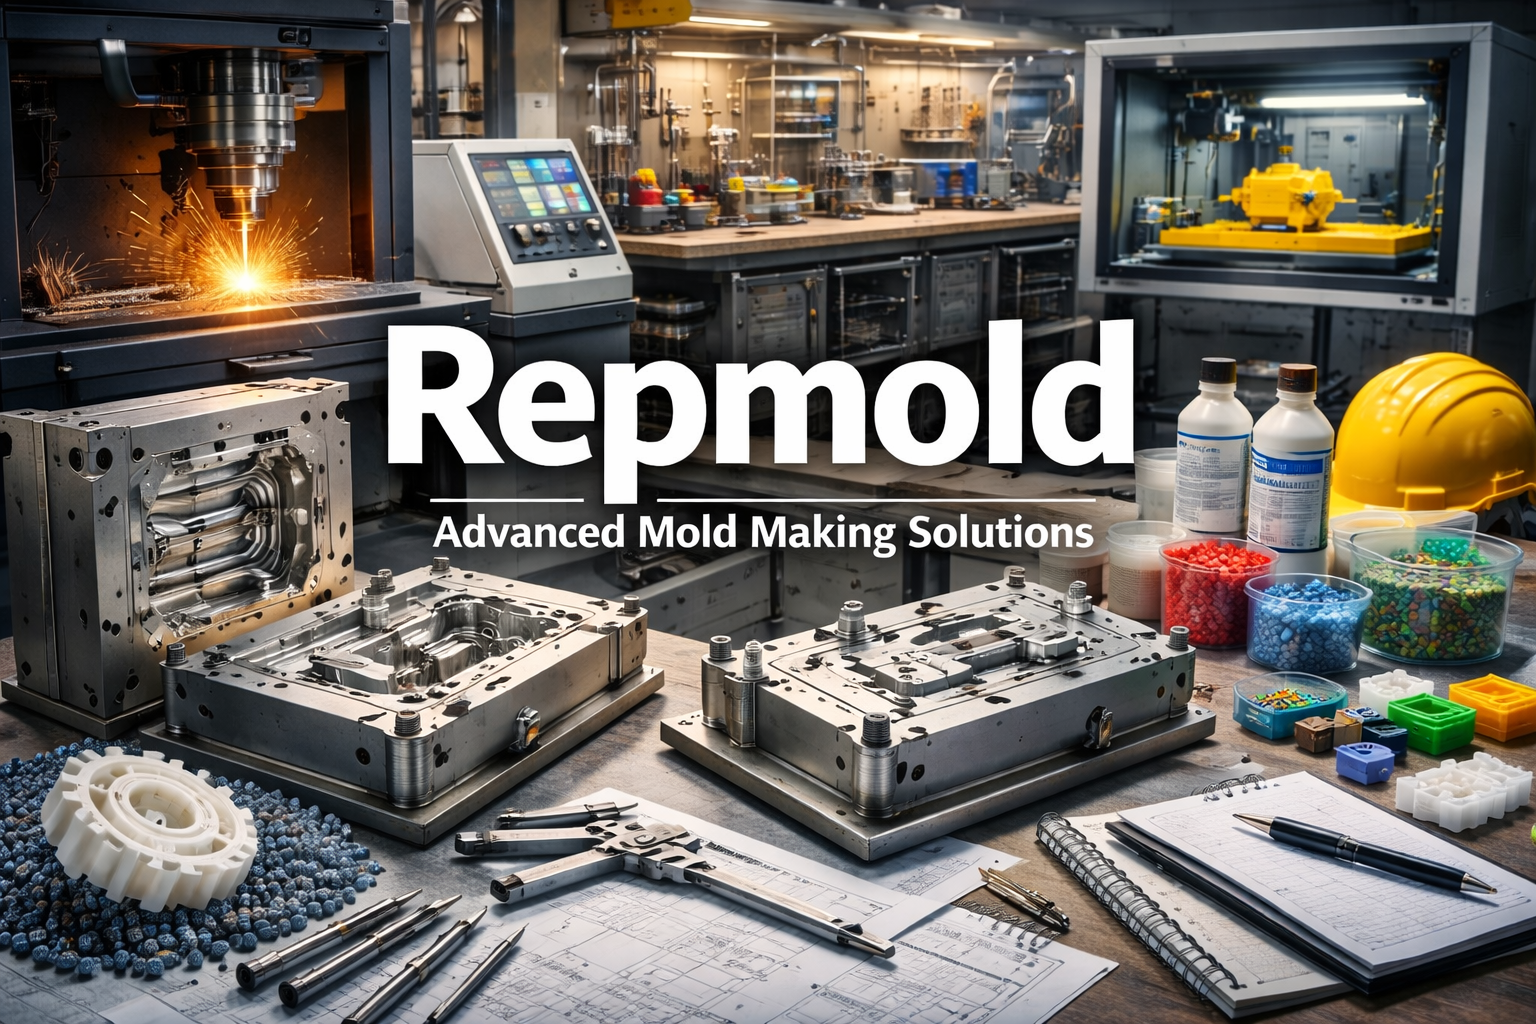
repmold
Repmold: A Simple, Detailed Guide for USA Readers
Repmold is a word you may see in making parts, tools, and molds. It often links to fast production and repeatable results. Many people use repmold ideas when they want speed without losing shape and detail. Think of it like a smart way to copy a form again and again. It can support product testing, small batches, and quick upgrades. It can also help teams cut waste and avoid rework. In the United States, makers care about time, safety, and quality. They also care about cost control. That is why repmold is discussed in prototyping, molding, and modern manufacturing. In this guide, you will learn what it is, how it works, and when it makes sense. I will keep it clear, friendly, and practical, with real examples and a helpful profile table.
What Repmold Means in Plain English
Repmold usually points to “repeatable molding” using modern tools. The goal is simple. You want the same shape many times, with fewer mistakes. In older methods, mold making could take a long time. It could also cost a lot. With repmold thinking, you focus on faster design and faster mold creation. You may use digital design, 3D printing, CNC cutting, or smart mold materials. You may also use fast checks before full production. This helps you find errors early. It also helps you change the design without big delays. The core idea is control. You control shape, size, and surface detail. You also control how parts come out each time. For many teams, repmold is not one machine. It is a practical workflow.
Why Repmold Matters for American Businesses
American brands move fast. Customers expect quick delivery and steady quality. That pressure is real for small shops and big factories. Repmold matters because it can shorten the path from idea to product. It can also reduce “guessing.” When you test a form early, you learn faster. When you repeat a form with a stable mold, you get fewer defects. That means fewer returns and fewer angry emails. It also means less wasted material. In the USA, many teams build products in stages. They start with a sample. Then they do a small run. Then they scale. Repmold supports this step-by-step approach. It helps you stay flexible while you learn. It also helps you stay confident when you must ship on time.
How Repmold Fits Into Modern Manufacturing
Manufacturing today is a mix of digital and physical work. Repmold fits right in because it starts with a clear model. That model may come from CAD files or 3D scans. Next, teams choose the best way to create the mold or tool. Some use CNC machining for strong tooling. Some use additive manufacturing for speed. Some use silicone molds for short runs. Some use urethane casting for parts that look close to final products. The big win is choice. You pick the method that matches your goal. If you need only 50 parts, you may not need a heavy steel tool. If you need 50,000 parts, you likely do. Repmold thinking helps you avoid overbuilding too early. It keeps your process smart and scaled to your need.
Repmold vs Traditional Mold Making
Traditional mold making can be excellent. It can also be slow. It often needs more steps and more wait time. Repmold approaches try to reduce that wait. They do it by using faster design loops and faster tool creation. Traditional tooling often shines in large-volume runs. It can deliver long life and high repeat speed. Repmold shines when you need speed, change, and learning. For example, a new product may need three design updates. Traditional tooling can make those updates painful. Repmold methods can make them easier. Another difference is cost timing. Traditional tools may demand a big upfront spend. Repmold workflows can spread cost across stages. That helps startups and small brands. The best choice depends on your batch size, material needs, and timeline.
The Core Steps in a Repmold Workflow
A repmold workflow usually starts with a clean design. You set key sizes and tolerances. Then you think about how the part will release from a mold. This is called draft and parting planning. Next, you pick a mold type. It might be silicone, aluminum, or steel. After that, you make a prototype tool or a test mold. Then you create a small batch and inspect results. You check fit, strength, and surface finish. You also check if the mold fills well. If something fails, you adjust the design. Then you repeat the cycle. This loop is the heart of repmold thinking. It is not about rushing. It is about learning fast with fewer expensive mistakes. That is why teams love it for early production.
Materials Commonly Used With Repmold Methods
Materials matter because molds must handle heat, pressure, and wear. For short runs, silicone molds are common. They are flexible and quick to make. They can capture fine detail. For stronger tools, aluminum is popular. It machines fast and costs less than steel. For very high volume, steel tools are common. They last longer and hold tight tolerances. On the part side, you may see plastics like ABS, PP, PC, or nylon. You may also see resins for casting. Some teams use filled plastics for strength. Others use soft materials for grips and seals. Repmold planning asks one key question. What material do you truly need right now? If you choose the wrong one, you may waste time. If you choose the right one, you move with confidence.
Where Repmold Is Used in the USA
Repmold ideas show up in many American industries. In consumer products, brands use fast molds to test shapes and packaging. In automotive work, teams use quick tooling for brackets and interior parts. In medical work, teams may use short-run parts for testing. In robotics, teams use repmold workflows to refine housings and mounts. Even in home goods, makers use repeat molds for small batches. The common theme is speed plus control. Many U.S. teams need quick learning without a huge spend. They also need parts that look real, not rough. Repmold methods can deliver that middle ground. You get better than a rough prototype. You also avoid a full production tool too early. This helps teams hit deadlines without taking big risks.
Real Example: A Small US Brand Launching a New Product
Imagine a small brand in Texas making a new kitchen tool. They have a great idea and a tight launch date. They start with a 3D printed sample. It looks good, but it feels weak. They switch to a short-run mold method. They create a small batch in a stronger plastic. Now they can test real use. They learn the handle is too thin. They also learn the snap fit is too tight. With repmold planning, they fix the design fast. They run another small batch. The product now feels strong and smooth. They also learn the best packaging size. Only after that do they invest in a long-life production mold. This reduces risk. It also protects cash flow. This type of story is common in the USA. It shows why repmold is about smart steps, not hype.
Benefits of Repmold That People Notice Fast
One clear benefit is speed. Faster cycles mean faster learning. Another benefit is better control. You can measure parts and improve fit. Another benefit is cost balance. You may spend less upfront for early stages. Another benefit is less waste. You avoid producing thousands of wrong parts. Another benefit is teamwork. Designers and builders can work closer together. Problems get solved earlier. Repmold also supports customization. You can tweak a mold or tool for a niche version. That helps small brands stand out. Still, the best benefit is confidence. When you test real parts early, you stop guessing. You can show samples to buyers and partners. You can also spot safety issues early. That protects your brand. For many teams, repmold becomes a habit because it reduces stress.
Limits and Risks to Watch With Repmold
Repmold is helpful, but it is not magic. Some quick molds do not last long. Some fast methods may not hit ultra-tight tolerances. Some materials may not match the final production grade. That can affect strength, heat resistance, or chemical resistance. Another risk is rushing the design. If you skip basic checks, you may repeat the same error. Also, not every part is mold-friendly. Some shapes trap material. Some shapes need sliders or complex tooling. That raises cost. A smart repmold plan respects these limits. It chooses the right method for the right stage. It also tracks what must be “final” and what can be “good enough for testing.” When teams ignore these limits, they get weak parts or wasted tools. When they respect them, they move faster with fewer surprises.
Repmold Quality Checks That Keep Results Consistent
Consistency is the whole point. So checks matter. Start with a clear spec sheet. Include sizes, weight, and surface finish needs. Then inspect parts from early batches. Measure key features with calipers or gauges. Check fit with mating parts. Test stress points like snaps and hinges. Also look for mold issues. You may see warping, sink marks, or short fills. If you see them, adjust. That might mean changing wall thickness or adding draft. You should also track batch notes. Write what changed and why. This helps future runs. Repmold workflows work best with simple discipline. You do not need a huge lab. You need repeat steps that catch repeat problems. In the USA, quality issues can lead to refunds and bad reviews. Simple checks protect your time and reputation.
A Complete Biography and Profile Table for Repmold
Below is a “biography-style” profile table for repmold. It is written like a clear identity card. It helps readers understand what repmold is, where it fits, and what to expect in real use. Use it as a quick reference when you plan a project or explain it to a teammate.
| Profile Field | Repmold Snapshot |
|---|---|
| Name | repmold |
| What it is | A repeat-focused mold and tooling workflow using modern design and fabrication |
| Core goal | Make consistent parts faster, with fewer early mistakes |
| Common tools | CAD design, CNC machining, 3D printing, silicone molds, rapid tooling |
| Typical outputs | Test parts, short-run parts, prototype molds, bridge tooling |
| Best fit | Prototypes, small batches, design updates, early product launches |
| Less ideal for | Ultra-high volume without durable production tooling |
| Key strengths | Speed, flexibility, learning cycles, lower early risk |
| Key trade-offs | Tool life, tight tolerance limits, material differences |
| Main users | Product makers, startups, factories, engineers, inventors, R&D teams |
| Quality focus | Specs, inspection steps, repeat notes, tolerance checks |
| USA value | Faster launches, fewer returns, better product confidence |
| Simple way to explain it | “A smart repeat method for molds and parts” |
Checklist: Simple Repmold Planning Before You Start
If you want repmold results you can trust, use this checklist. First, define your goal. Is it a test batch or a sellable batch? Second, pick your target material. Keep it close to final if you can. Third, choose your mold approach based on quantity. Short runs and long runs need different tools. Fourth, make a clear spec sheet with key sizes. Fifth, plan for part release with draft angles. Sixth, build in a small test run before a big run. Seventh, inspect and record results. Eighth, change one thing at a time when you improve. Ninth, set a “stop rule” for defects. Decide when you pause and fix. Tenth, confirm lead times for each stage. This checklist sounds simple, but it prevents costly mistakes. It also keeps your team aligned. That is what repmold planning is really about.
Choosing the Right Secondary Keywords Naturally
When people search for repmold, they often search around it. They look for terms like rapid tooling, injection molding, prototype mold, silicone mold, urethane casting, CNC machining, additive manufacturing, and low-volume production. These phrases help readers understand the topic faster. They also match real questions Americans ask. For example, a person might ask, “Is this good for 500 units?” Another might ask, “Can I get production-like finish?” Another might ask, “Will the mold last?” These are practical questions. A useful article answers them in simple terms. That is why it helps to use related words in a natural way. It also keeps the content clear. It avoids repeating one keyword too much. In this guide, repmold is the main idea, but the related terms explain the “how” and the “when” that readers care about.
Conclusion: Repmold Helps You Move Fast Without Losing Control
Repmold is best seen as a smart path from idea to repeatable parts. It helps you test, learn, and improve without a huge early gamble. It also supports consistent results when you are ready to ship small batches. For many American teams, that is the sweet spot. You get speed and real feedback. You also protect your budget. The best results come from clear goals, simple specs, and steady checks. If you keep those habits, repmold methods can feel smooth and reliable. If you skip them, you may repeat the same mistakes faster. If you want, tell me what your project is. Share your product type and your target quantity. I can suggest the best repmold-style path in plain steps. I can also tailor the profile table for your exact use case.
FAQs
1) Is repmold the same as injection molding?
Repmold is not always the same as injection molding. Injection molding is a specific process. It pushes melted plastic into a mold. Repmold is more like a repeat-focused approach. It can include injection molding, but it can also include other methods. For example, it may use silicone molds for casting. It may use rapid tooling for short runs. It may also use 3D printed tools for testing shapes. The key idea is repeat and speed. You want consistent parts, and you want to learn fast. Injection molding is often used for large volumes. Repmold workflows are often used earlier, or for smaller batches. Many teams start with repmold methods and later move to full injection molding when the design is stable.
2) What is the best batch size for repmold methods?
The best batch size depends on the tool and material. Many repmold workflows shine in small to medium runs. That could be 20 parts, 200 parts, or a few thousand parts. Silicone molds may work well for smaller runs. Aluminum tools may handle more. Steel tools usually handle the most. The real question is not only quantity. It is also how often you expect design changes. If you expect changes, you want a flexible method. That is where repmold planning helps. It lets you avoid heavy spending too early. If your design is final and you need huge volume, a long-life production tool may be better. If you are still learning, repmold is often a smarter starting point.
3) Can repmold parts look like final retail parts?
They can, but it depends on the method. Some repmold approaches deliver very clean surfaces. Others look more like prototypes. If you use a well-made tool and good material, you can get strong, smooth parts. You can also get good color and texture in many cases. Still, some fast methods may show small marks. You may see slight variation between early runs. That is normal in short-run workflows. The best way is to set a clear finish goal. Decide what “good enough” means for your stage. If parts are for testing, function may matter more than shine. If parts are for selling, finish matters more. Repmold planning helps you pick the right tool level for your goal.
4) What is the biggest mistake people make with repmold?
The biggest mistake is skipping clarity. People rush into making a tool without a clear spec. Then they blame the process when parts do not fit. Another big mistake is expecting a short-run tool to behave like a full production tool. Tool life and tolerance can differ. A third mistake is changing too many things at once. Then you cannot tell what fixed the issue. Repmold works best with simple discipline. Define the goal. Choose the right method. Test a small batch. Measure key features. Record changes. These habits feel small, but they protect you. They also protect your budget. In the USA, most losses happen from rushed steps and unclear expectations. Clear steps prevent most pain.
5) Is repmold good for startups in the United States?
Yes, repmold is often great for startups. Startups need speed. They also need to protect cash. Repmold workflows help them test real parts without a huge upfront tool spend. They can show samples to buyers and investors. They can also improve the design based on real feedback. That reduces risk before scaling. Many startups also change features often. A flexible workflow helps. Still, startups should set honest limits. Some methods are best for testing, not for large sales volume. A smart plan is to use repmold for early batches, then upgrade tooling when sales are stable. That step-by-step path fits how many U.S. startups grow. It keeps learning fast and spending wise.
6) How do I know if I should use repmold or go straight to production tooling?
Ask three simple questions. First, is your design stable? If you still expect changes, repmold is safer. Second, how many parts do you need soon? Small runs often match repmold methods well. Third, how tight are your tolerance needs? Some parts need very tight control. That may push you toward stronger tools. If you can answer these questions clearly, your choice becomes easier. Many people go straight to production tooling too early. Then they pay again to fix errors. A staged approach is often smarter. Start with a test run, learn, and then commit. That is the heart of repmold thinking. It gives you confidence before you spend big.